I saw a brilliant post on
http://comictool.blogspot.com about how to create a magical palette that keeps your gouache paints from drying while painting and especially while storing. It is likened to the Masterson Sta-Wet Palette, but uses materials found at your local grocery store and is quite inexpensive! Here's what I did:
I bought the three packs of sponges (4 in each) for a total approximating $7. I actually end up using only two of those packs, which is 8 sponges. Those 8 sponges filled 7 of the 3 x 3 in. bottomed Tupperware containers and 7 of the 2 x 2 in. bottomed Tupperware containers. I found those Tupperware containers at the 99 Cent store at 2 (the small
and the big) for 99 cents! I thought I would end up using the smaller containers for paint storage, but I think now that seven of those larger containers will be just fine for that purpose.
I used a pair of scissors to cut a 3 x 3 in. square for the larger container and leftovers from that same sponge for the smaller container. There will be a small space that the sponge does not fill in the small container (seen above) if you are trying to waste as little sponge as possible, but you can also grab a new sponge if you want to cut a square that fits exactly.
If you are ready to start painting, then saturate your sponge and a piece of watercolor paper with water. The watercolor paper is cut to the size of the sponge and will serve as a moist palette paper. It took only one 11 x 15 in. piece (Aquarelle, cold press, 90 lb) to make thirteen 3 x 3 in squares and seven 2 x 2 in squares.
Put your paint on your palette and you are ready to go! To store, simply put the lid of the Tupperware container on. You may need to re-soak your sponge before your store the paint depending on how much water has evaporated while you paint. I do not know yet how long it takes for mold to start growing, but I will let you know if I find any!
Now for an update on my revamped concept for a painting I am working on.
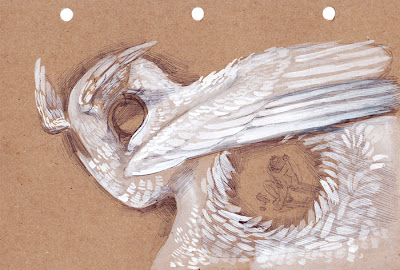
This is a maquette in the works of an angelic creature. In the last maquette I made, I used real bird feathers to create the wings. Those were quite realistic, but read as feathery eyebrows and not wings. This time, I am using paper for the wings, each made by printing out a picture of a bird wing and cutting it out. Well, the right wing I hand traced over an image of a bird wing because I somehow managed to print that one backwards. I am also using wire, foil, tape, and eventually, sculpey.
His head was too big, so I took that off and sculpted a smaller one. He is still needing some eyeballs and head wings. More to come in the following week!


